Showing posts with label Dessert. Show all posts

Monday, March 24, 2014

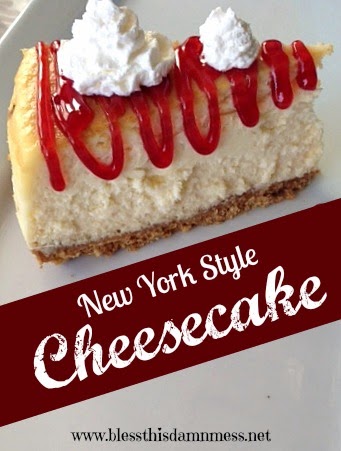
New York Style Cheesecake Recipe


It's not always easy to make a really good cheesecake. Each recipe is different in many ways. I have experimented with the best of the best on the internet and finally found the perfect recipe for a basic New York style cheesecake. This is a MUST TRY!!

What you will need:
1 9in. Springform Pan
1 Large baking pan.

INGREDIENTS:

4 (8oz) Packages Cream Cheese- Room Temp.
4 Eggs
1 1/2 C. White Sugar
3/4 C. Milk
1 C. Sour Cream
1 TBSP Vanilla Extract
1/4 C Flour
Pinch or two of Salt

CRUST:
2 C. Graham Cracker Crumbs
4 TBSP Butter
1/2 TBSP Vanilla Extract
Pinch of Salt

Preheat Oven to 350 Degrees
Grease 9in. Springform pan.

Cover bottom and sides on the outside of your springform pan with aluminum foil to make it "waterproof".  Cooking a cheesecake in a water bath is an easy way to prevent cracking and browning of the cheesecake. 

In a medium bowl, mix graham cracker crumbs, 4 tbsp butter, salt and vanilla. Spread evenly on the bottom of your springform pan. Press firmly.

Bake crust for ten minutes. Remove from oven to cool.

In a large bowl, mix cream cheese with sugar until smooth. Blend in milk, vanilla, sour cream and flour. Add the eggs one at a time, mixing just enough to incorporate. 

Pour filling over the top of the crust and let sit five minutes.

Place your cheesecake into a large enough pan or cake pan. Pour in one inch of water, careful not to get any inside the springform pan.

Bake in the oven at 350 for exactly 1 hour. 
DO NOT PEEK!
Once the hour is over, shut the oven off and walk away.
Let the cheesecake sit in the oven to cool to room temperature- about 5-6 hours.
Refrigerate after the 5-6 hours is done, and it should look perfect! (And TASTE perfect too!!)

Top with whatever your little heart desires. I love strawberries myself! :-)

Enjoy! There really is nothing as good as a great cheesecake. Ahhh heaven on a plate!


Sunday, March 16, 2014

Banana Pudding Poke Cake


My husband is OBSESSED with banana pudding. This was a genius idea for a birthday cake! 

INGREDIENTS:
1 Box White Cake Mix
1 tsp Vanilla
1 Package Vanilla Wafers
4 Bananas
2 packages Banana Pudding
1 Container Cool Whip
**Ingredients to make cake

PREHEAT OVEN AS DIRECTED ON CAKE MIX BOX

Set out Cool Whip Container to Soften.

I used three round cake pans to make a layered cake for this one. Simply mix up your cake mix by the directions on the box. Add the extra tsp vanilla. Separate evenly into 3 greased and floured round cake pans. Bake as directed. 

When done, let sit about 5 minutes. Tap pan on counter and flip cakes onto a lightly floured surface. Begin to poke cakes with a plastic "one use" straw all the way around, about an inch apart, throughout the whole cake, until all cakes are done.

Slice bananas, and mix up pudding packages. After mixing, I put the pudding mixture in a pourable measuring cup to make it easier to use.

Place one cake round on a serving plate or pan. Pour pudding mixture over the cake to fill the holes (carefully). Line with a layer of wafers and a layer of bananas. Do the same with the second layer. If it gets to thick to pour, add a bit of milk. 

Once the second layer is finished, place the last cake round on top. Pour pudding mixture into the holes carefully, and let sit five minutes. 

Stick cake in the refrigerator to cool for ten minutes.

Take the cake out, and frost with the cool whip. Crumble some wafers and sprinkle them on top of the cake and line the sides with whole wafers. 

Keep Refrigerated until you are ready to eat it.


Thursday, February 20, 2014

Churro Cheesecake Bars


Is it bad that I instantly chowed down on two of these right after I took this picture? 

No, my friends, it's not. They are THAT good. 

My Mom has a recipe almost dead on to these delicious squares of heaven and they are always a hit.

Enough jibber jabber! Start baking them! ;-)


Ingredients:
  • 2 8oz Cans of Crescent Rolls
  • 2 8oz Packages Cream Cheese- Softened
  • 1 Egg
  • 1 tsp Vanilla
  • 2 tbsp Cinnamon
  • 1 C. Sugar- Divided
  • 2 tbsp Butter
  • 9x13  Baking Dish


  1. Preheat oven to 350.
  2. Grease your baking dish and unroll one can of crescents. Place on bottom of baking dish, pinching the seams together. 
  3. In a medium sized mixing bowl, add softened cream cheese, 1/2 C. Sugar, vanilla and your egg.
  4. Blend (with a blender/stand mixer) until smooth. It would be hard to mix by hand.
  5. Spoon cream cheese mixture onto your bottom layer of crescents as shown, and spread around to cover the bottom. 
  6. Unroll your second can of crescents and place on top of cream cheese mixture, again pressing the seams closed. 
  7. Bake in your preheated oven for 30-35 minutes or until golden brown on top.
  8. Melt 2 tbsp butter across the top of your bars.
  9. Mix remaining 1/2 C. sugar with your cinnamon.
  10. Sprinkle (or pour) your cinnamon sugar evenly over the top.
  11. Let sit until cool, slice, serve and enjoy!

Or you can just shovel one into your mouth right after you snap a picture of it like I did. I have no self control...it's not my fault.


Hope you Enjoy this recipe! Follow me on Pinterest and Facebook to see what I come up with next! :-)

Friday, February 7, 2014

Chocolate Chip Cookie Dough Bites


Holy Hannah Montana these are good!!! So easy, so fast, so delicious! This is guaranteed to sooth your need to eat raw cookie dough or bake cookies. Honestly takes five minutes to mix up (extra for chocolate coating).  Little scrumptious eggless wonders! But let me just say...for the record...melting chocolate and trying to be awesome at it is not my forte. More on that in a second, here's the recipe!!

Ingredients:

1 1/4 C     Flour
1/2 tsp      Salt
1/2 C        Light Brown Sugar
1/4 C        Granulated Sugar
1/2 C        (1 Stick) Butter-softened.
1 tsp         Vanilla
1/2 C        Mini Chocolate Chips

Directions:

Mix together your sugars with your butter until creamy. Add in salt, and vanilla. Then mix in flour and chocolate chips. Using your hands to get it all together works very well. Now shape them into one inch balls and place on a cookie sheet lined with wax paper. If you find it is too dry to form, add a little milk a tbsp at a time. NOW- If you want, you can melt some chocolate and dunk these puppies in there and be all crafty and awesome. OR you can just eat them as is. 

I dunked mine in chocolate. This was my first time working with melted chocolate. I have it all over my face right now. I don't know how that happened. It was messy. But... on the plus side, I made my kid a little extra chocolate treat with the leftover chocolate! 


I call these hershey squirts. Cuz, well, you know. 


Enjoy! ;-) 

Wednesday, February 5, 2014

Rich Chocolate Cake


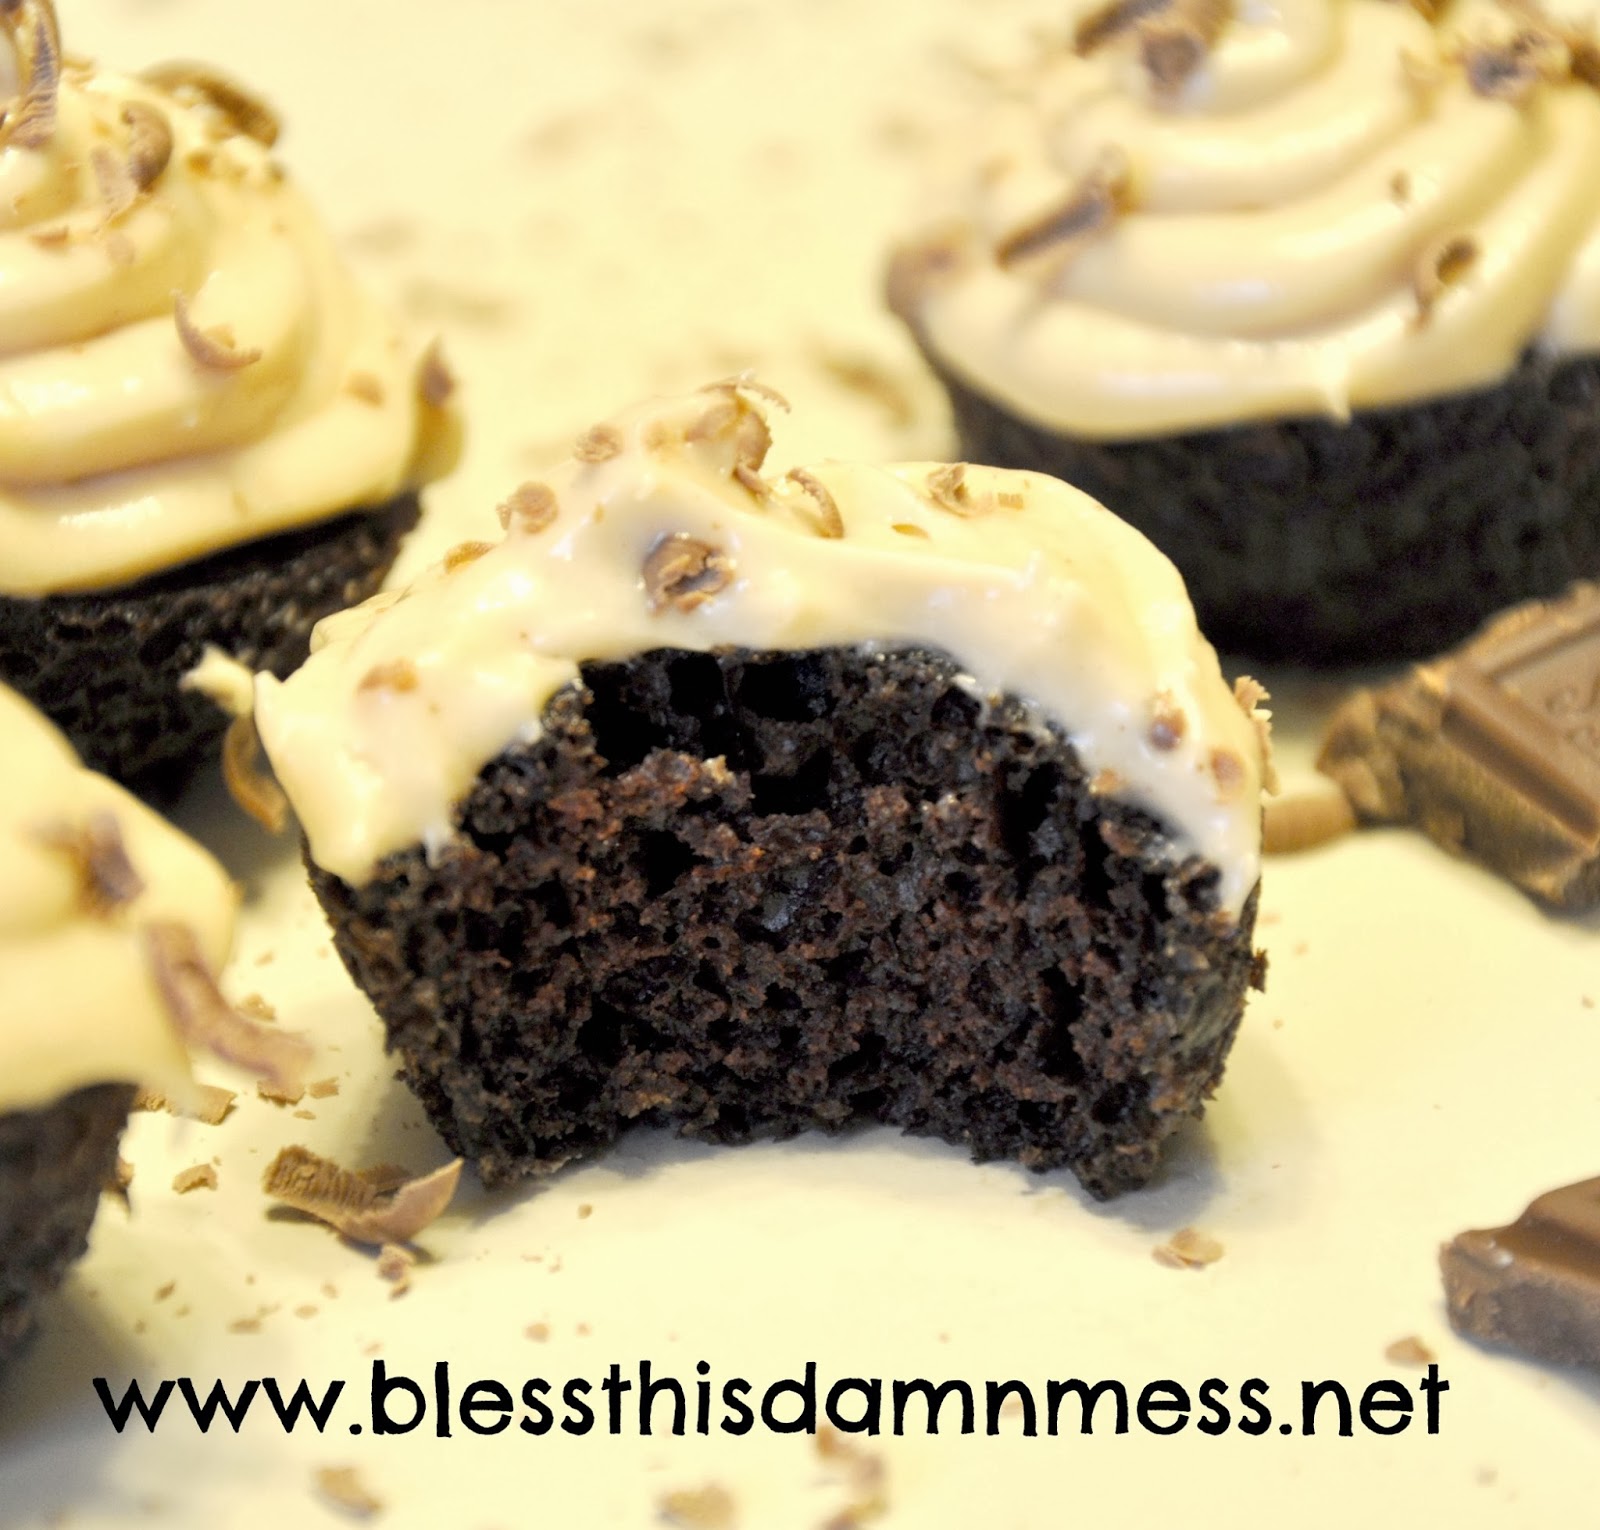
Now, I am in no way a cake or cupcake lover. I just dont like cake. I don't know why. But this cake. THIS CAKE is the richest, most chocolatey cake recipe out there. One thing I do love? COFFEE!! Yep. There is coffee in this cake mix. It helps add a more intense chocolate flavor. I just had to try this for myself. I am in love. Unfortunately, I made the big huge cake for my husband to take to work, and only a couple little baby cupcakes for my taste testers. I want MORE!! Enjoy! :-)

Ingredients:
   

1 3/4 C Flour
2 C Sugar
3/4 C Cocoa Powder
2 tsp Baking soda
1 tsp Baking powder
1 tsp Salt
2 Eggs
1 C Buttermilk
1/2 C Vegetable Oil
1 tsp Vanilla extract
1 cup of strong black coffee, cooled

Preheat oven to 350. In a large bowl, combine dry ingredients. In a medium bowl, combine buttermilk, eggs, oil, vanilla and coffee. (Make sure your coffee is COOL or it will cook your eggs. Yucko!) With your mixer on medium speed, mix the two together until well combined. The batter is going to be thin. Thats ok. It turns into a big fluffy moist cake. No worries. Now pour that liquid gold into your two greased and floured cake rounds and bake for 30-35 minutes until a toothpick comes out clean. (35-40 minutes for one large cake)

TADA!! Beautiful rich moist deliciousness! Now, frost that puppy. In the picture above I made my own peanut butter cream cheese frosting which I will be posting a bit later. Feel free to use any flavored frosting. Enjoy! 

Monday, February 3, 2014

Redd's Apple Ale Beer Bread


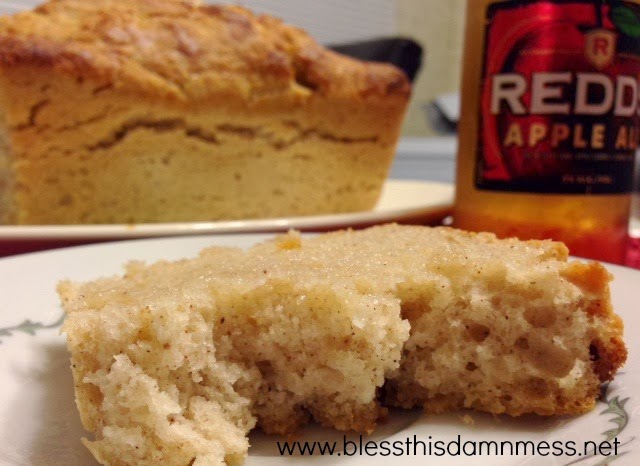
Oh beer. Beer is good. I just recently tried Redd's Apple Ale and LOVED it. I opened a bottle tonight as I sat down to relax a research some recipes. I came across beer bread somewhere, and it hit me. I need to make a sweet Redd's Apple Ale bread!!! Beer helps you come up some brilliant ideas too, apparently! This is SO damn easy a caveman can do it. You know, if they had flour and beer. Poor cavemen.  Enough jibber jabber! Lets have our beer and eat it too! 


Ingredients:

3 C. All purpose flour
1/3 C. Sugar
1/3 C. Light Brown Sugar
1 tbsp Baking Powder
1/2 tsp Salt
1/2 Tbsp cinnamon-or more to taste
Dash of nutmeg
1/2 C. Applesauce
1 12 ounce Redd's Apple Ale beer.
3 Tbsp Melted Butter

Preheat oven to 350. Grease your loaf pan and set aside. In a large bowl, whisk together flour, sugars, baking powder, salt, cinnamon and nutmeg. In a separate bowl, combine applesauce and beer. Pour wet ingredients into your dry ingredients and mix well. Pour into prepared loaf pan and carefully drizzle your melted butter on top. (YUM) Bake in preheated oven for 55-60 minutes or until toothpick inserted in the center comes out clean. Leave it sit in the loaf pan a couple of minutes and flip onto a rack to cool, then chow down! So good!